

The Choicer Voicer ships with very little content out of the box. Instead, it’s built around an open content model: the judge panel, studio, and game modes are all designed to run on content packs — folders of audio clips that you either download from the community or build yourself. This guide walks through what a voice pack actually is and how to put your first one together.
A voice pack (also called a content pack or mod pack) is a collection of audio clips organized into a folder that The Choicer Voicer can load. Once a pack is loaded, its clips supply the reference lines that players try to match during a round. Because the content model is this open, two players running the same copy of the game can end up with completely different sessions depending entirely on what they’ve loaded in.
According to the developer, making a basic voice pack is as straightforward as dropping audio files into a folder — there’s no complex authoring tool required to get started.
You have two options:
Note: pack file structure has changed between game versions before, and the developer has indicated further changes are planned in future updates. If a pack doesn’t load correctly, check that it matches the format expected by the version of the game you’re running.
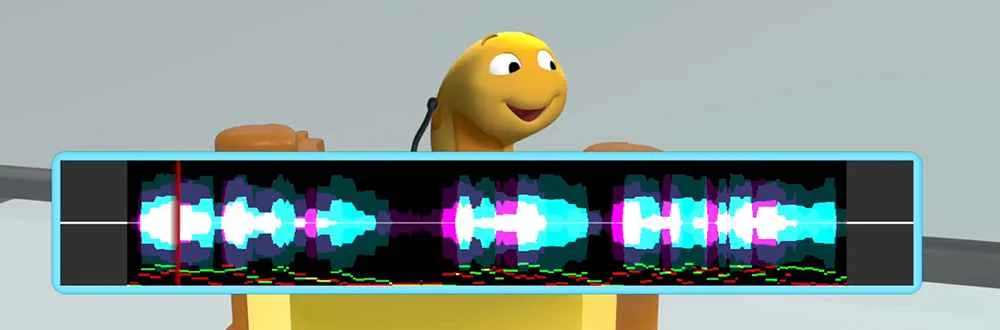
A few practical habits make the difference between a voice pack that’s fun to play and one that falls flat:
Once you have a pack — downloaded or self-made — it needs to be placed in the game’s local content folder so The Choicer Voicer can detect it. Community members generally recommend downloading packs only from trusted sources, and checking that a pack matches your current game version before dropping it in. If a pack doesn’t appear in the game after installing it, double-check that it’s in the correct local folder and that its file structure matches what your version of the game expects.
Beyond the standard studio format, keep these pack-related features in mind:
Once you’ve built a pack you’re happy with, you can share it with friends directly or upload it to a community hub so other players can download and use it. Since the game’s content model relies entirely on user-made material, sharing packs is one of the main ways the available content library grows over time.